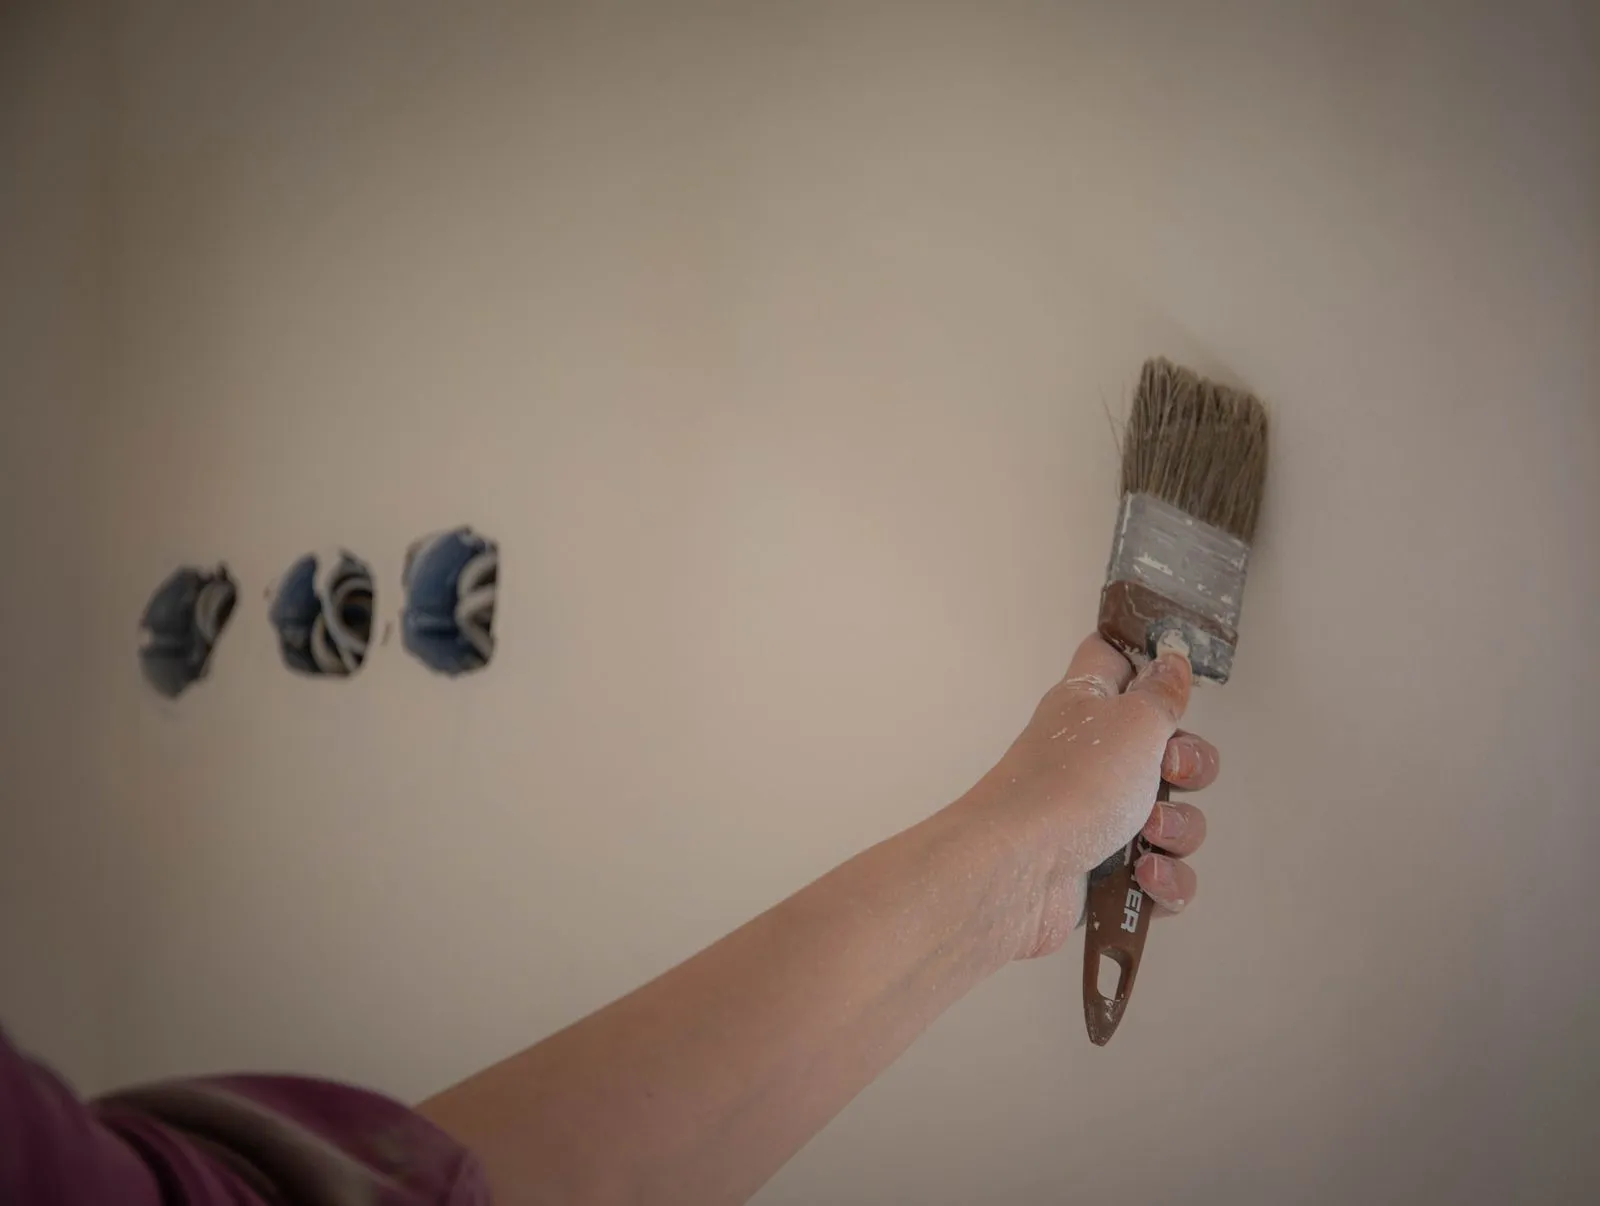
Textured wallpaper can highlight a wall’s character, but it can also draw attention to dents, loose paint, and leftover adhesive. A careful wall check before installation helps the paper bond evenly and keeps bumps from showing through. Start by identifying the wall surface and any existing coverings, then clean, repair, and prime as needed. The right preparation depends on the wall’s condition and the wallpaper manufacturer’s instructions, so allow time to address problems before hanging begins.
Inspect the Wall Surface
Look across the wall in bright, angled light to spot dents, ridges, cracks, peeling paint, and uneven patches. Run your hand over the surface as well; small bumps can be easier to feel than see. Pay extra attention to corners, seams, areas around windows, and places where furniture may have rubbed the finish.
Check for signs of moisture, such as staining, soft drywall, bubbling paint, or a musty smell. Resolve leaks and let the wall dry fully before covering it. Wallpaper should not be used to hide active water damage or loose material. If the wall feels soft or the damage is extensive, have it assessed and repaired before installation.
Remove Old Wall Coverings
Remove existing wallpaper when possible, including backing and adhesive residue. Use a removal method suited to the wall and covering, and test a small, inconspicuous area first. Avoid soaking drywall, which can damage its paper face. After removal, rinse or wipe away residue according to the product directions, then allow the surface to dry completely.
Do not hang new wallpaper over peeling paper, loose seams, or a slick vinyl finish unless the wallpaper manufacturer specifically permits it and the surface is properly prepared. Old wallpaper can release when exposed to paste or moisture, causing bubbles and lifted edges. If you cannot remove a stubborn covering safely, ask an installer to evaluate the wall before proceeding.
Clean, Repair, and Smooth
Remove dust, grease, and other residue with a suitable wall cleaner, then wipe with clean water if the cleaner’s instructions call for it. Keep the surface free of lint and let it dry. In kitchens and bathrooms, pay close attention to cooking residue and soap deposits, which can interfere with adhesion.
Fill small holes and cracks with an appropriate patching compound. Once it has dried, sand the repairs flush with the surrounding wall and remove all sanding dust. Scrape away loose paint and feather rough edges so they do not create visible ridges. Textured wallpaper may disguise minor surface variation, but it will not reliably conceal raised seams or unstable patches.
Prime Before Installation
Apply a primer made for wallpaper preparation, choosing one that suits the wall material and the wallpaper’s instructions. Primer helps create a more consistent surface, supports adhesion, and can make future removal easier. Bare drywall, repaired areas, glossy paint, and other challenging surfaces may need specific treatment rather than a general-purpose wall primer.
Let the primer dry for the full time listed on its label before hanging the paper. Confirm that the wall is clean, dry, smooth, and sound, and check that switches and outlets are ready for safe installation work. If the wall has multiple layers of paint, extensive repairs, or uncertain old coverings, an installer can recommend the preparation needed for that surface.
Good preparation starts with a close inspection and ends with a clean, dry, properly primed wall. Address moisture, remove unstable coverings, and smooth repairs before installation rather than relying on textured paper to hide them. For help assessing a wall in San Diego, contact San Diego Texture Co to discuss your project.